


How to Hang a Picture Frame: Tips for Perfect Wall Art Display
How to Hang a Picture Frame: Complete Guide for All Wall Types
You've just acquired that beautiful work that will bring your interior to life, and now the eternal question arises: how do you hang it on the wall without triggering an architectural catastrophe? Whether you're facing a concrete wall as stubborn as a traditional art critic or a drywall partition more fragile than a watercolor in the rain, don't panic! I'll guide you step by step through this subtle art of wall hanging.
After spending years wandering art galleries and fitting out several exhibition spaces, I've accumulated enough experience (and yes, a few poorly placed holes too) to share the secrets of a successful hang. Think of this guide as your personal little museum curator, who will spare you many cold sweats and hammers crushed on thumbs!
Choosing the Ideal Spot for Your Frame
Before even pulling out your toolbox, let's take a moment to think about the perfect place where your work can truly shine. It's a bit like choosing the placement of a sculpture in a museum: the staging is an integral part of the artistic experience!
Aesthetic Considerations: Height, Alignment, Arrangement
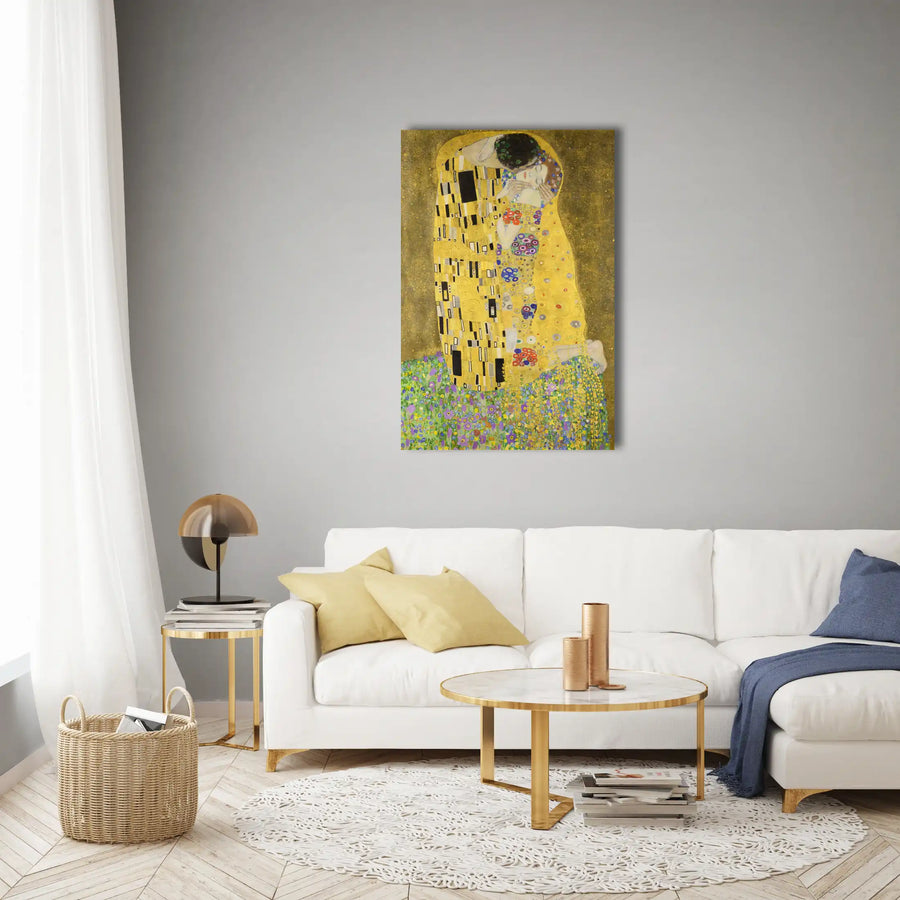
The golden rule in art galleries is to position the center of the artwork at eye level, approximately 1.50–1.60 m from the floor. Of course, this rule can be adapted to your height and personal preferences. The last thing you want is to end up with a stiff neck every time you admire your favorite painting!
For arrangements of several frames, consider laying them out on the floor first to visualize the overall composition before you start drilling. You can create different compositions:
- In a horizontal line (perfect above a sofa)
- In a regular grid (for a museum-style collection effect)
- In an asymmetrical constellation (for a more dynamic and contemporary style)
- In a staircase arrangement (ideal for following a staircase)
Don't be afraid to let your works breathe! At Art Virtuoso, we generally recommend a spacing of at least 5 to 8 cm between frames for a harmonious composition.
Practical Considerations: Wall Type, Access to Fixings
All well and good, but don't forget the physical reality of your home. Avoid hanging your frames:
- Above heat sources (fireplaces, radiators) that could damage the artwork
- In areas of high humidity (bathrooms) unless your frame is specially protected
- Facing a sunny window, as UV rays are the sworn enemy of color pigments
- In narrow passageways where the frame risks being knocked
Also check for the absence of pipes or electrical cables in the wall. A metal and cable detector can save you many unpleasant surprises!
Preparing the Necessary Materials
Every artist needs their tools, and hanging frames is no exception. Here is your palette of instruments for achieving a masterpiece of wall installation!
Tools: Tape Measure, Pencil, Spirit Level, Drill
Here is the basic toolkit for a hanging worthy of a professional curator:
| Tool | Purpose | Essential? |
|---|---|---|
| Tape measure | Measure distances and heights with precision | Absolutely |
| Pencil | Lightly mark reference points (preferable to a pen) | Yes |
| Spirit level | Ensure perfect horizontality of your frames | Yes (or smartphone app) |
| Drill | For fixings that require holes | Depending on fixing type |
| Hammer | For nails and certain types of hooks | Depending on fixing type |
| Screwdriver | For screwing hooks, screw fixings | Often necessary |
| Metal/cable detector | Locate hidden obstacles in the wall | Recommended |
A personal tip: I always use pieces of masking tape to temporarily mark my positions on the wall. It's less risky than a pencil and removes without leaving any marks!
Fixings: Nails, Wall Plugs, Hooks, Adhesives, Picture Rail
The choice of fixing depends primarily on two factors: the weight of your frame and the nature of your wall. Here is an overview of the options available to you:
- Nails: The simplest option, suitable for light frames and solid walls
- Picture hooks: Available in different load capacities
- Wall plugs: Essential for hollow or crumbly walls
- Adhesive fixings: A no-drill solution for light frames
- Picture rail systems: Professional installation allowing easy rearrangement
An insider tip: always plan for a fixing capable of supporting a weight slightly greater than that of your frame — better too much than not enough!
Identifying the Wall Type and Choosing the Right Fixing
Understanding your wall is a bit like analyzing a canvas before applying paint. Every surface has its own characteristics and requires an appropriate approach.
Drywall: Molly Bolts, Expansion Anchors, Adhesives
Drywall, the great introvert of modern interiors, is probably the most common wall type today. Its hollow structure requires specific fixings:
- Molly bolts: These little engineering marvels deploy behind the board once inserted, creating a solid anchor
- Expansion anchors: They spread inside the drywall when you screw them in, providing a good hold
- Butterfly anchors: Ideal for heavier loads in drywall
For lightweight pictures (under 2 kg), special drywall hooks may suffice — they are driven in at a precise angle and can bear surprisingly good weight.
Concrete Walls: Expansion Plugs, Metal Anchors, Screws
Concrete is the equivalent of marble in sculpture: solid but difficult to work with. To fix your works here:
- Always use a drill with a hammer/percussion function
- Use special masonry bits (wood bits would be as useful as a paintbrush on granite)
- Opt for nylon expansion plugs or metal anchors for heavy loads
I learned the hard way that it's better to allow some time and patience for this type of wall — there's no rush in the process, unless you want to damage your tools or your precious wall!
Brick Walls: Nails, Plugs, Screws
Brick is generally accommodating for your fixings, but be careful with its structure:
- Always aim for the center of the brick, not the mortar joints which are more crumbly
- Use plugs suited to solid materials
- For hollow bricks, prefer specific expansion anchors
"Hanging a work of art is offering it its final setting — a gesture as important as the choice of the work itself."
— John Berger, art critic
Other Wall Types (Wood, Stone, etc.): Adapting Your Fixings
For wooden walls, the solution is relatively simple: wood screws driven directly into the material provide excellent hold. For stone walls, everything depends on the hardness and brittleness of the stone — an approach similar to concrete is generally recommended, with special care not to crack the stone.
Half-timbered walls present a special case: identify the wooden beams (with a stud finder or by tapping gently) and use them as anchor points when possible.
Hanging Techniques Based on Frame Weight
The weight of your artwork is a determining factor in the choice of hanging technique. As in art, you must adapt your technique to your subject!
Light Frames (< 1 kg): Adhesives, Adhesive Hooks, Adhesive Strips
For your featherweight frames, several options are available without even pulling out the drill:
- Double-sided adhesive strips: Ideal for small frames and smooth surfaces
- Adhesive hooks: Convenient and generally repositionable
- Blu-Tack or adhesive putty: For very light frames or postcards
Always make sure the wall surface is perfectly clean and dry before applying these adhesive solutions — a wipe with a little rubbing alcohol can help degrease the surface for better adhesion.
Medium Frames (1 to 5 kg): Nails, Wall Plugs, Hooks, Specific Hanging Systems
This category covers the majority of our framed works. For these medium weights:
- Picture hooks with nail: A simple and effective solution capable of supporting up to 5 kg depending on the model
- Screws with plugs suited to the wall type: The most versatile option
- Rail hanging systems: For more flexibility in positioning
For frames with a single hanging point on the back, consider screw-in picture hooks in the wall, which offer good stability.
Heavy Frames (> 5 kg): Heavy-Duty Plugs, Screws, Reinforced Hanging Systems, Picture Rail
The heavyweights of your collection deserve special attention:
- Systematically opt for two hanging points rather than one
- Use metal expansion anchors or chemical anchors for maximum resistance
- Consider professional picture rail systems with steel cables for particularly precious works
- Verify that the hanging system on the back of the frame is firmly fixed
For very heavy works (over 10 kg), don't hesitate to consult a professional — your masterpiece deserves that extra security!
Hanging a Frame Without Drilling: Alternative Solutions
Renters or lovers of pristine walls, rejoice! There are several ways to display your works without leaving the slightest mark on your walls.
Powerful Adhesives: Recommendations and Usage Precautions
Modern adhesives have become incredibly effective. To maximize their performance:
- Clean the surface thoroughly with rubbing alcohol
- Apply at room temperature (ideally between 15°C and 25°C)
- Press firmly for the time recommended by the manufacturer (generally a minimum of 30 seconds)
- Wait at least 24 hours before hanging your frame for optimal adhesion
Be careful, however, with textured surfaces or delicate paints where these adhesives might cause damage upon removal.
Adhesive Strips: Load Capacity, Installation Tips
Command™-type adhesive strips or equivalent have become the best friends of art-loving renters. A few tips for using them at their best:
- Strictly observe the weight limits indicated by the manufacturer
- For elongated frames, use two strips to avoid the "swing" effect
- Follow the removal instructions to the letter (generally by slowly pulling the tab downward)
I personally hung an entire temporary exhibition with these systems at an event in a historic space where drilling was prohibited — the result was impeccable!
Repositionable Adhesive Strips: For the Lightest Frames
For your small treasures (photos, small reproductions, artistic postcards), repositionable strips like Blu-Tack are a simple and effective solution:
- Form small balls and place them at the four corners of the frame
- Press firmly against the wall
- Check their hold regularly, as they can dry out over time
These solutions are particularly suited to ephemeral galleries or temporary arrangements.
Picture Rail: A Discreet and Reusable System
Picture rail systems represent the high-end solution for art lovers who regularly rearrange their displays:
- A discreet rail fixed at the top of the wall (generally the only permanent fixing)
- Cables or rods that descend from the rail
- Adjustable hooks that can be moved at will along the cables
This is the domestic equivalent of the system used in professional galleries, offering maximum flexibility to reorganize your collection without making new holes.
Hanging Multiple Frames: Tips and Tricks for a Harmonious Composition
Creating a harmonious gallery wall is a bit like composing a visual symphony — every element must find its place within the whole.
Alignment and Spacing of Frames
To create a balanced composition:
- Maintain consistent spacing between frames (generally between 5 and 10 cm)
- For horizontal alignment, align the center of the works rather than their edges
- For works of different sizes, try aligning one edge (top, bottom or center)
A pro tip: use pieces of cardboard of the same thickness as spacing templates to maintain a constant distance between your frames.
Different Possible Compositions: Lines, Geometric Shapes, Etc.
Let your creativity speak through these classic arrangements:
- The grid: Perfect symmetrical organization for frames of the same format
- The horizon line: Horizontally aligned frames, ideal above a piece of furniture
- The staircase: Ascending or descending diagonal arrangement
- The salon hang: Free but balanced arrangement, as in 19th-century exhibitions
- The constellation: Seemingly random but visually balanced arrangement
Don't hesitate to draw inspiration from the art galleries you visit — they are often designed by professional installation specialists!
Using a Template to Simplify Installation
For complex compositions, the template is your best ally:
- Use kraft paper or cut newspaper sheets to the exact size of your frames
- Mark the precise location of the hanging point on each template
- Arrange and adjust these templates on your wall with masking tape until you achieve the perfect composition
- Drive your nails or screws directly through the paper at the marked points
- Remove the templates and hang your frames
This technique used by professional museum installers will save you precious time and prevent many errors!
Hanging a Frame Straight and Level
Nothing is more annoying than a crooked frame. Here's how to ensure perfect horizontality for your works.
Using a Spirit Level
The spirit level remains the indispensable tool of the perfect frame hanger:
- Rest it directly on top of the frame once it is hung
- For round or irregularly shaped frames, check the level of the hanging points on the wall
- Don't hesitate to use smartphone level apps for small adjustments
For large works, ask for the help of a second person: one holds the frame, the other checks the level and marks the hanging points.
Adjustment and Correction Techniques
Even after careful hanging, some frames stubbornly tilt. A few tricks to remedy this:
- Use small pieces of adhesive putty (such as Blu-Tack) at the lower corners of the frame to stabilize it
- Invest in anti-tilt adhesive pads specially designed for frames
- For heavy frames, opt for two hanging points instead of one
- Hanging systems with an adjustable hook allow precise corrections without remaking the holes
A pro tip: for frames that always tilt, glue one or two pieces of non-slip rubber to the back of the lower corners.
Maintenance and Repair of Fixings
Good hanging lasts over time. Here's how to ensure the longevity of your installations.
Regularly Check the Solidity of Fixings
A twice-yearly inspection of your hanging installations is recommended:
- Check that wall fixings have not come loose
- Inspect the condition of the attachments on the back of frames (hooks, wires, etc.)
- Make sure the frame itself is still in good condition, without deformation or weakening
This maintenance routine is particularly important for high-value works or those placed in busy areas.
Removing a Frame Without Damaging the Wall
When the time comes to redecorate your space or move:
- For adhesive fixings, strictly follow the manufacturer's instructions (generally pull the tab slowly downward)
- For plug holes, specific filling products allow you to restore a smooth surface
- For small nail holes, a little wood filler or white putty will do the trick
If you are a renter, photograph your walls before hanging anything on them — a precaution that could prove useful during the end-of-tenancy inspection.
Frequently Asked Questions (FAQ)
At what height should I hang my frames?
In general, the center of the artwork should be at eye level, approximately 150–160 cm from the floor. For compositions above a piece of furniture, allow approximately 20 cm between the furniture and the bottom of the frame.
How do I hang a frame with no attachment on the back?
You can attach special fittings (Z-clips or sawtooth hangers) directly to the frame, or use two small brackets screwed discreetly onto the upper sides of the frame.
My frame is too heavy for my drywall, what should I do?
Locate the wooden studs behind the drywall using a stud finder and fix your frame directly to them. Alternatively, use special heavy-duty drywall anchors or consider a picture rail system fixed to the ceiling or upper molding.
How do I prevent my frames from tilting over time?
Use two hanging points instead of one, place small pieces of adhesive putty under the lower corners of the frame, or invest in anti-tilt adhesive pads specially designed for frames.
Can I hang frames on an exposed stone wall?
Yes, by drilling into the mortar joints rather than into the stone itself. Use a hammer drill and plugs suited to hard materials. Alternatively, consider a rail system fixed to the ceiling to avoid drilling into the stone.
Conclusion: Hanging — The Final Act of Your Personal Curation
Hanging a frame may seem like a mundane task, but it is in reality the final gesture that brings your collection to life. As we have seen, every wall type, every work and every space deserves special attention.
Don't forget that the way you display your artworks profoundly influences how they will be perceived and appreciated. Careful hanging enhances not only the work itself, but also your artistic sensibility.
So arm yourself with your tools, choose the fixings suited to your situation, and transform your walls into a personal gallery worthy of the greatest exhibition spaces!
And if you'd like to enrich your collection with works that deserve all this attention, don't hesitate to explore our selection of abstract art paintings or to discover the creations of celebrated artists that could give a new dimension to your interior.
Sources and References
- Fontaine, C. (2022). L'art de l'accrochage : Guide pratique pour collectionneurs et amateurs d'art. Éditions du Regard.
- Bergeron, A. & Costain, C. (2018). Guide de conservation préventive pour les œuvres encadrées. Institut canadien de conservation.
- Wilson, A. (2021). Museum Standards for Art Display. Getty Conservation Institute.
- Martin, F. (2020). Home Gallery: Creating Art Spaces in Residential Environments. Princeton Architectural Press.
- Thompson, J. (2019). The Art Museum in Modern Times. Thames & Hudson.